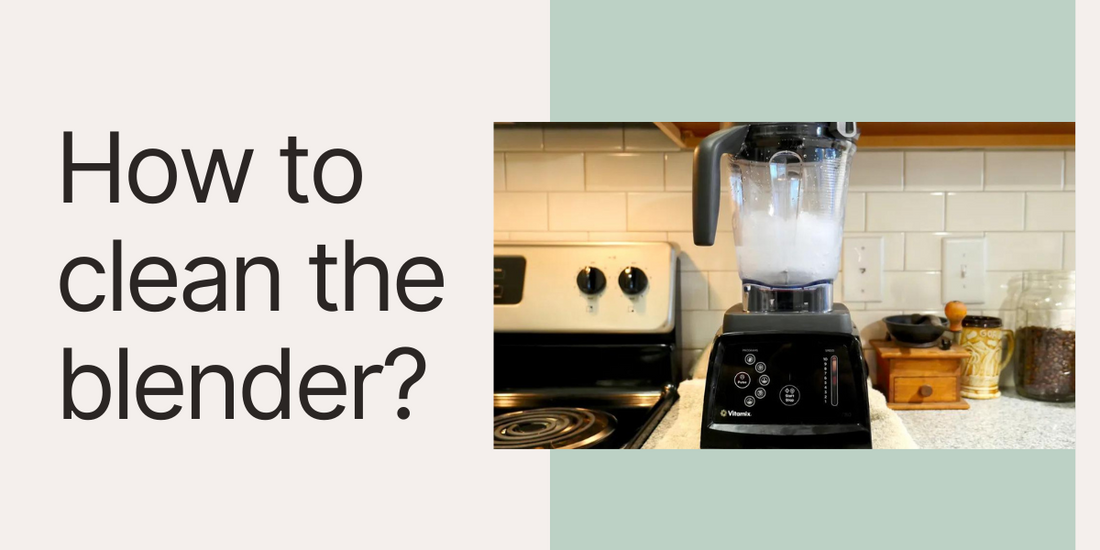
Blenders are a great kitchen tool for making smoothies, juices, soups, and sauces. However, cleaning the blender can be a daunting task. The good news is that cleaning a blender is not as difficult as it seems. In this article, we will guide you through the process of cleaning a blender step-by-step.
Step 1: Disassemble the Blender
The first step in cleaning a blender is to disassemble it. Carefully remove the blender jar, lid, and any other detachable parts, such as the blade and gasket. Be sure to read the manufacturer's instructions before disassembling the blender, as some models may require specific steps.
Step 2: Rinse the Blender
Once the blender is disassembled, rinse the blender jar and any detachable parts with warm water. Be sure to rinse thoroughly to remove any remaining food particles.
Step 3: Soak the Blender
If there are any stubborn food particles that won't come off with a simple rinse, fill the blender jar halfway with warm water and add a few drops of dish soap. Place the jar back on the base of the blender and blend on high speed for 30-60 seconds. This will create a soapy mixture that will help remove any remaining food particles.
Step 4: Clean the Blade and Gasket
To clean the blade and gasket, use a small brush or sponge to remove any food particles. Be sure to use caution when cleaning the blade, as it is sharp. Use a clean towel to wipe down the blade and gasket once they are clean.
Step 5: Dry the Blender
After cleaning, use a clean towel or dishcloth to dry the blender and all detachable parts. Be sure to dry the parts thoroughly to prevent any moisture from remaining, which can lead to mold or bacteria growth.
Tips for Cleaning a Blender
- Clean the blender immediately after use. This will prevent any food particles from drying and becoming more difficult to remove.
- Use warm, soapy water to clean the blender. This is the most effective way to remove any food particles and bacteria.
- Be careful when cleaning the blade, as it is sharp. Use a brush or sponge to remove any food particles, and be sure to wipe the blade and gasket with a clean towel once they are clean.
- Do not immerse the base of the blender in water. This can damage the motor and electrical components.
- Store the blender in a clean, dry place to prevent any moisture or bacteria growth.
Conclusion
Cleaning a blender may seem like a daunting task, but it is actually quite simple. By following these easy steps, you can ensure that your blender is clean and ready for use the next time you need it. Regular cleaning of the blender not only ensures that it lasts longer but also prevents any bacterial growth or contamination from leftover food particles. So, next time you use your blender, remember to clean it thoroughly and enjoy the fresh and delicious food and drinks that it can create.

