
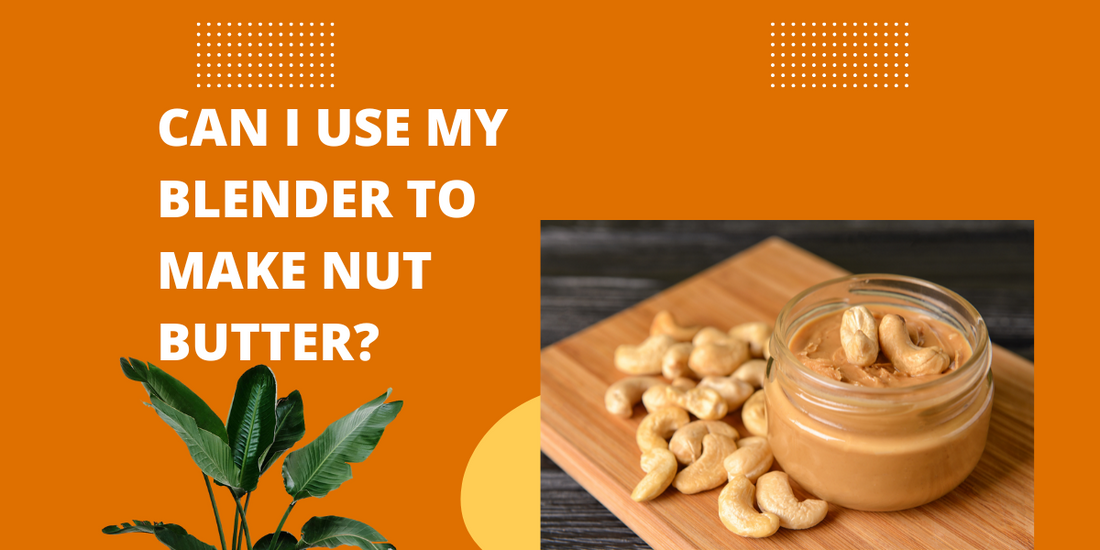
Blenders are versatile kitchen appliances that can be used for various culinary tasks. If you're wondering whether you can use your blender to make nut butter, the answer is a resounding yes! Blenders are not only capable of blending fruits and vegetables into smoothies, but they can also transform nuts into creamy, homemade nut butter. In this article, we will explore the process of making nut butter using your blender, and provide you with helpful tips to achieve the perfect consistency and flavor.
Why Choose a Blender for Making Nut Butter?
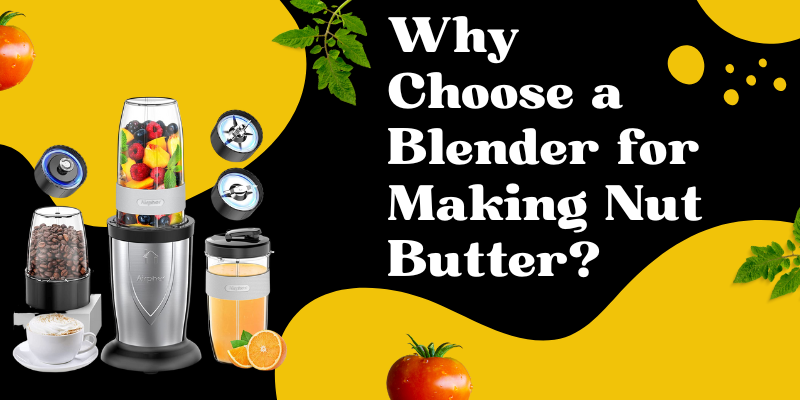
Blenders are an excellent choice for making nut butter due to their powerful motors and sharp blades. They are specifically designed to crush and blend ingredients to a smooth consistency. When it comes to making nut butter, the high-speed rotations of the blender's blades help break down the nuts' natural oils and turn them into a creamy spread. With a blender, you have control over the texture and ingredients of your nut butter, allowing you to customize it to your taste preferences and dietary needs.
Selecting the Right Blender
To make nut butter successfully, it's important to choose a blender that can handle the task effectively. Consider the following factors:
- Power: Look for a blender with a high-powered motor, preferably with a wattage of 1000 or more. This ensures that the blender can handle the tough task of grinding nuts into buttery perfection.
- Blade quality: Opt for a blender with durable and sharp blades. Stainless steel blades are recommended as they can withstand the hard texture of nuts and maintain their sharpness over time.
- Jar capacity: Consider the size of the blender jar and choose one that suits your needs. A larger capacity is beneficial if you plan on making larger batches of nut butter.
Preparing Your Ingredients
Before you start making nut butter, it's important to prepare your ingredients properly. Follow these steps:
- Choose your nuts: Select the type of nuts you want to use for your nut butter. Common choices include almonds, peanuts, cashews, and hazelnuts. You can use raw or roasted nuts, depending on your preference.
- Roasting the nuts (optional): Roasting the nuts can enhance their flavor and make them easier to blend. Spread the nuts on a baking sheet and roast them in the oven at 350°F (175°C) for about 10-15 minutes, or until they are golden brown and fragrant. Allow them to cool before proceeding.
Creating Nut Butter in Your Blender
Now that you have your blender and prepared nuts, let's dive into the process of making homemade nut butter:
- Add the nuts: Place the roasted or raw nuts into the blender jar. Start with a smaller quantity, especially if you're new to making nut butter. You can always increase the batch size once you're comfortable with the process.
- Optional additions: If desired, you can add a pinch of salt, a drizzle of honey or maple syrup, or other flavorings such as cinnamon or vanilla extract. These additions can enhance the taste of your nut butter, but they are optional.
- Start blending: Secure the blender lid tightly and start blending at a low speed. Gradually increase the speed to high, allowing the nuts to break down and release their natural oils. You may need to pause occasionally to scrape down the sides of the blender jar with a spatula to ensure even blending.
- Patience is key: Making nut butter can take some time, so be patient. The duration can vary depending on the type of nuts and the power of your blender. It usually takes around 5-10 minutes of continuous blending to achieve a smooth and creamy consistency.
- Adjusting consistency: If your nut butter appears too thick or dense, you can add a small amount of oil to help achieve a smoother texture. Options like coconut oil, peanut oil, or almond oil work well. Start with a teaspoon at a time and blend until you reach your desired consistency. Remember that the natural oils in the nuts will also contribute to the overall texture, so it's important to find the right balance.
- Taste and customize: Once your nut butter reaches the desired consistency, give it a taste. Adjust the flavor by adding more salt, sweetener, or any additional ingredients you prefer. Blend again to incorporate the flavors.
- Storage: Transfer the freshly made nut butter into an airtight container. It can be stored at room temperature for a few days, but for longer shelf life, refrigeration is recommended. Homemade nut butter can typically last up to a few weeks when refrigerated.
Cleaning and Maintenance
After making your nut butter, proper cleaning and maintenance of your blender are essential. Here are some tips:
- Disassemble and clean: Take apart the blender jar, lid, and blade assembly. Rinse them under warm water and use a mild dish soap to remove any residue. Use a brush or sponge to clean the blender jar thoroughly. Avoid submerging the motor base in water; simply wipe it clean with a damp cloth.
- Dry thoroughly: Allow all the parts to air dry completely before reassembling the blender. Make sure there is no moisture left, as it can lead to mold or damage.
- Maintenance: Regularly check the blender's blade assembly for any signs of wear or damage. Replace the blades if needed. Refer to the manufacturer's instructions for any specific maintenance recommendations.
Conclusion
Blenders are not limited to making smoothies; they can also be your secret weapon for creating delicious homemade nut butter. With their powerful motors and sharp blades, blenders can effortlessly grind nuts into smooth and creamy spreads. By choosing the right blender, preparing your ingredients properly, and following a step-by-step process, you can enjoy the satisfaction of making your own nut butter from scratch. Whether you prefer almond butter, peanut butter, or a blend of various nuts, your blender is a versatile tool that can help you achieve the perfect texture and flavor. So, unleash your creativity, experiment with different nut combinations, and indulge in the rich and wholesome goodness of homemade nut butter.